
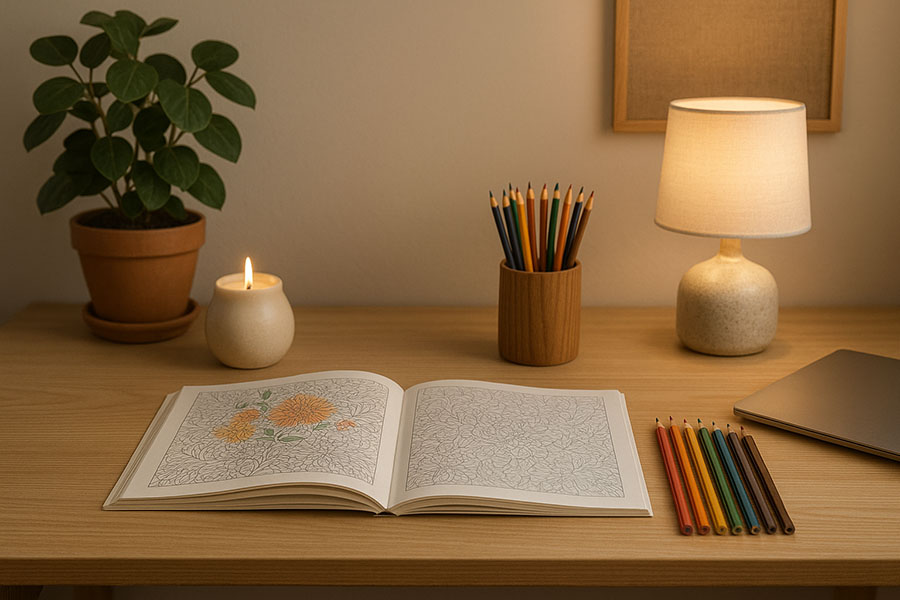
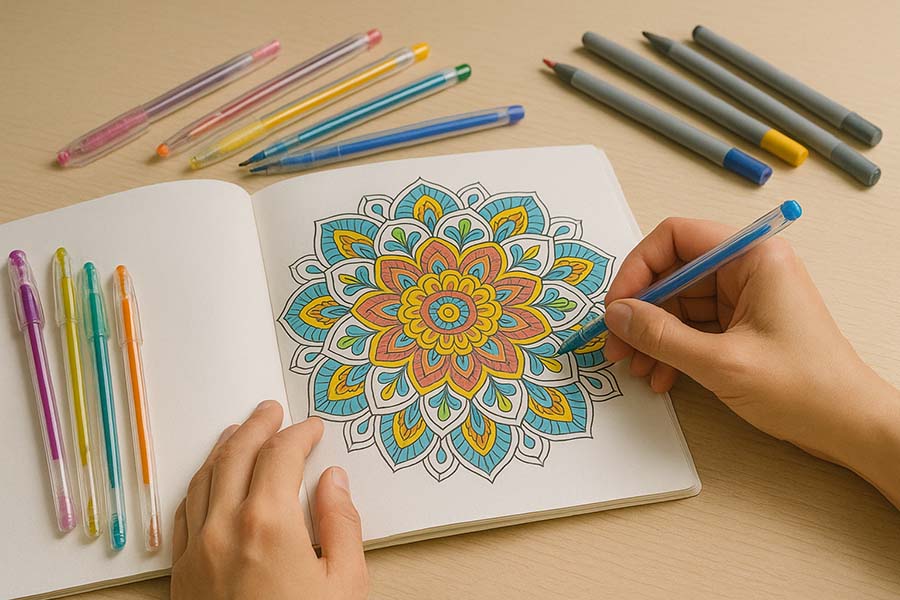
Finishing a coloring page should feel like the beginning of something, not the end. Instead of tucking your art away, let it brighten the rooms you spend time in and spark conversation with friends and family. The ideas below show how to turn your pages into décor, keepsakes, and even practical household items. Each suggestion includes extra details—materials, quick tips, and creative twists—so you can pick one project this weekend and another next month without running out of inspiration.
1. DIY Gallery Wall Grid
Transform a blank wall into a rotating art show. Choose six, nine, or twelve identical frames (8×10‑inch frames work well for most books). Measure equal spacing with painter’s tape and a level to keep rows tidy. Slip finished pages behind simple white mats for a polished look, or skip mats for a modern edge‑to‑edge vibe. Swap new art every few weeks; store older pieces behind the mat so each frame hides a little “archive” that guests can flip open later. To tie the grid together, stick to one color palette per row—earth tones on top, pastels below. Add a battery‑powered picture light if the wall lacks natural sun, and your coloring suddenly feels gallery‑worthy.
2. Clipboard Art Rotation
Paint or stain inexpensive clipboards to match your décor—bold primary colors for a playroom, matte black for an office, or pastel chalk paint for a craft nook. Screw small hooks or nails into the wall at eye level and hang two rows of clipboards. Because the metal clip holds pages securely without damage, swapping art takes seconds, making this setup perfect for kids who finish pages daily. Jot the date and artist’s name on the back so you can track progress over time. For extra flair, glue a mini clothespin to the bottom edge of each board to hold a coordinating color swatch or inspirational quote card.
3. String‑Light Showcase
Nothing says cozy like fairy lights, and coloring pages look magical suspended between tiny bulbs. Choose LED strings with clear or warm white bulbs to enhance rather than overpower your art. Tack small cup hooks along a window frame or bookshelf, drape the lights, and clip pages with decorative mini clothespins. If humidity is high, slip pages into archival plastic sleeves to avoid curling. Swap designs seasonally—snowflakes in winter, florals in spring—and weave faux greenery around the cord for a whimsical touch. The gentle glow turns your art into illuminated “stained glass” and doubles as ambient evening lighting.
4. Shadow‑Box Story Frames
A shadow box adds depth and lets you build a mini world around your page. Choose a box at least one inch deep. Mount the coloring page on the back panel with double‑sided tape. Then layer small, lightweight props: a pressed flower that matches a botanical page, shell fragments for an under‑the‑sea scene, or a tiny paintbrush and pencil stub to represent the creative process. Use foam adhesive squares to raise elements at varying heights for a 3‑D effect. Seal the frame and hang it alone as a statement piece or cluster several boxes in different sizes for a museum‑style vignette.
5. Laminated Placemats
Protect your artwork—and your dining table—by turning pages into wipe‑clean placemats. Trim the page to your preferred size (standard placemat is about 12×18 inches). Run it through a home laminator using a 5‑mil pouch, or take a batch to a copy shop if you don’t own one. Round the corners with a craft punch to prevent sharp edges. Make a double‑sided placemat by sliding a second design back‑to‑back before laminating. Kids love seeing their handiwork at breakfast, and spills wipe off with a damp cloth. For a matching set, color coordinating mandalas using a shared palette, then laminate all at once.
6. Decoupaged Furniture Accents
Give tired furniture a personal upgrade. Lightly sand the surface of a drawer front, tray, or stool top to help adhesion. Brush on a thin layer of decoupage medium (Mod Podge Matte works well), lay the trimmed coloring page in place, and smooth bubbles with a silicone scraper or plastic card. Apply two more coats, letting each dry thoroughly. Finish with clear polyurethane for durability—especially on tabletops that meet coffee mugs. Thrift‑store finds become custom statements, and every glance reminds you of relaxing art sessions.
7. Magnetic Fridge Gallery
Turn your refrigerator into a living gallery that evolves with your creativity. Self‑adhesive magnetic sheets cut easily with scissors—just peel the backing and press onto the page’s reverse side. For a collage effect, trim art into shapes (hearts, stars, geometric blocks) before adding magnets. Arrange pieces to form a larger design or let kids move them like puzzle tiles. Because magnets remove cleanly, you can redo the layout whenever the mood strikes. Extend the idea to metal filing cabinets or a painted magnetic wall in a home office.
8. Spiral‑Bound Portfolio Book
Collect your favorites in a coffee‑table portfolio. Slide pages into acid‑free plastic sleeves, then bind them with a DIY spiral‑binding machine or at a local print shop. Interleave blank sheets of black cardstock to frame each design and protect against color transfer. Add sticky‑note captions: date completed, tools used, and any story behind the palette choice. Over time, the book becomes both an art album and a visual diary of your coloring journey. Guests enjoy paging through, and you can easily compare early work with newer pieces to see improvement.
9. Window Art Panels
Create faux stained glass that glows with natural light. Sandwich the page between two clear acrylic sheets (found at hardware stores). Secure edges with clear double‑sided tape or decorative washi that matches your color theme. Drill tiny holes through the top corners and thread fishing line or thin chain. Hang the panel from a curtain rod or ceiling hook so sunlight shines through. For longevity, spray both sides with UV‑protective clear coat to minimize fading. Rotating panels with the seasons keeps the window décor fresh without new hardware.
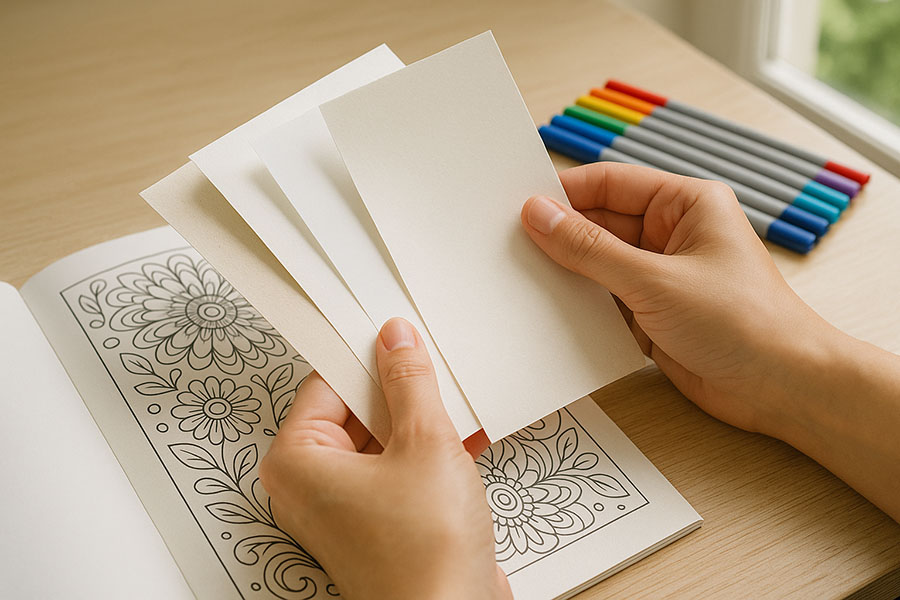
10. Greeting‑Card Gift Sets
Share your art by turning it into handcrafted stationery. Scan pages at 300 DPI, resize to 4×6 inches, and print on heavyweight matte cardstock. Score each sheet in the center for a crisp fold, then bundle sets of four or six with coordinating envelopes. Tie with satin ribbon or tuck into a cellophane sleeve for gift‑ready presentation. Custom cards make thoughtful presents for teachers, neighbors, and holiday hosts—and they showcase your creativity long after the wrapping paper is gone. If you sell at craft fairs, offer themed bundles (botanical, geometric, holiday) to attract different buyers.
Final Thoughts
Whether you illuminate your work with fairy lights or laminate it for dinnertime smiles, displaying finished pages turns personal relaxation into everyday joy. Pick one method that suits your space and materials this week, and watch blank walls and ordinary objects burst into color—courtesy of your own creative hands.

0 Comments